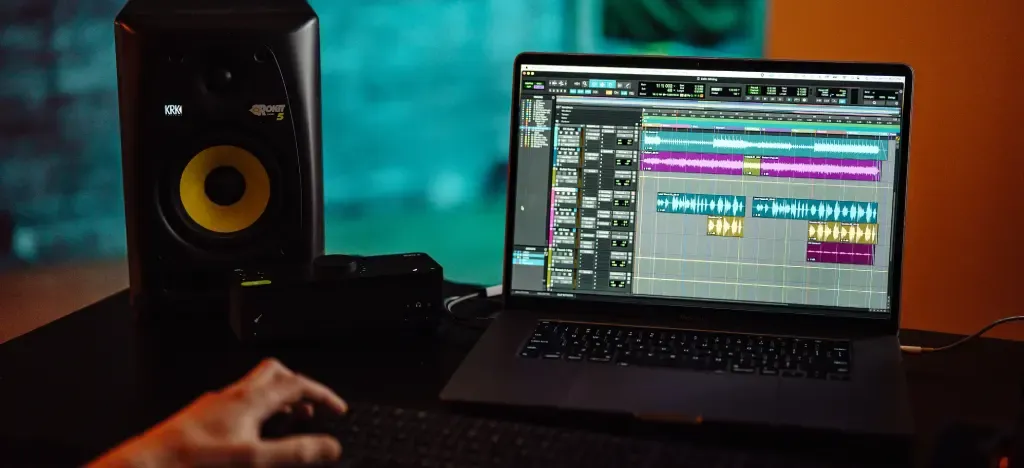
Music production is more accessible than ever. Gone are the days when making a track meant booking studio time or buying racks of gear. Now, with just a laptop, a pair of headphones, and some free software, anyone can start producing music from home.
In this guide, I’ll walk you through the essentials for setting up your first home studio — including how to choose the right computer, pick a beginner-friendly DAW, and start working with core audio tools like EQ, compression, and MIDI. You’ll also get access to a free DAW tutorial from Grammy-winning engineer Chris Kasych to help you hit the ground running.
- What do you need to start making music at home?
- Can I make music on my computer for free?
- Best budget computers for music production
- What is a Digital Audio Workstation (DAW)?
- Best free DAWs for beginners
- Free video tutorial: Opening your DAW for the first time
- Headphones vs studio monitors
- Exploring basic audio elements in your DAW
- Getting started with MIDI
- Choosing the right audio production gear
- Experimenting with your sound on a budget
- Learn recording and music production for free
- FAQ: Music production at home (2025)
What do you need to start making music at home?
When I started out, producing music meant owning a bulky desktop and spending hundreds on software. These days, it’s a different story — even a modest laptop and some free tools are enough to get started.
If you’re new to music production, the biggest hurdle might just be figuring out the software. But don’t worry — you really only need three things to begin:
Computer
DAW (Digital Audio Workstation)
Headphones or speakers
Can I make music on my computer for free?
Yes — 100%. If you already have a laptop and a pair of headphones, you can start making music today without spending a penny.
There are several free DAWs (Digital Audio Workstations) that work across different systems.
Best budget computers for music production
 As a beginner, you probably don’t want to spend a fortune on a high-end machine — and honestly, you don’t need to. I recently mixed a track on a really low-spec laptop, and while there were some limitations, it still got the job done.
When you’re choosing a computer for music production, the main things to think about are:
Processor – A multi-core processor (at least four cores) like an Intel i5/i7 or AMD Ryzen 5/7
RAM – 8GB is the minimum, but 16GB or more makes everything run more smoothly
Storage – An SSD is much faster than a traditional hard drive. Aim for at least 256GB (512GB is better if you work with a lot of files)
You don’t need a monster machine — just something stable and capable. And if you're upgrading later, focus on RAM and an SSD first. Those two things will give you the most noticeable improvements.
Budget laptops for music production
If you’re thinking about buying a new laptop specifically for music production, here are a few affordable options that are still going strong in 2025:
Acer Aspire 5 – A great all-rounder with an Intel Core i5 or AMD Ryzen 5, 8GB RAM, and up to 512GB SSD. Reliable, easy to upgrade, and priced around $500–$700.
Dell Inspiron 15 3000 – Available with Intel i3, i5, or i7. You can get up to 16GB of RAM and a 512GB SSD. It’s not flashy, but solid for the price (around $400–$600).
Lenovo Ideapad 3 – Lightweight, compact, and good value. Comes with AMD Ryzen 5, 8GB RAM, and a 256GB SSD. Expect to pay around $450–$550.
MacBook Air (M1 or later) – This is more of an investment, but it runs DAWs like Logic and Ableton really well, and the battery life is excellent. Price starts just under $1000.
Whichever one you go for, make sure it has enough RAM and an SSD — that’ll help keep your workflow smooth as your projects get bigger.
MAC or PC: Which is better for music production?
This one always sparks debate. Macs tend to be more stable and offer a slick plug-and-play experience, especially if you’re using Logic Pro. But they also cost more — and you’re limited to Apple’s ecosystem.
PCs, on the other hand, give you more flexibility and customisation options. If you like digging into settings or upgrading components, Windows might be the better fit. That said, you might run into the occasional compatibility hiccup.
Personally, I’ve always used Windows for music production. These days it’s pretty solid — not crash-proof, but much better than it used to be.
Mac | Windows | |
|---|---|---|
Reliability | Highly reliable, rare crashes | Prone to crashes |
Usability | User-friendly, simple OS | More complex setup |
Cost | Higher cost | More affordable |
Compatibility | Limited to Apple ecosystem | Compatible with many brands |
Customization | Less customizable | Highly customizable |
No matter what computer you have, you'll need to install a DAW.
What is a Digital Audio Workstation (DAW)?
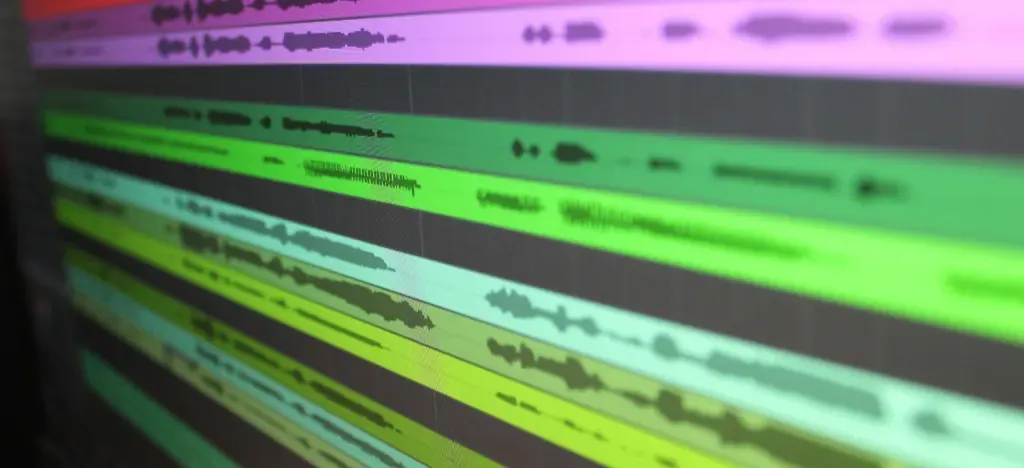 A DAW is where the magic happens — it’s the software where you record, edit, arrange, and mix your music. You can work with audio tracks (like vocals or guitars) and MIDI tracks (which control virtual instruments).
When I first started out, there weren’t many choices. I used Cubase VST at the time, then later moved on to SONAR (Cakewalk). These days, there are loads of DAWs — both paid and free — and most of them share similar layouts and features.
If you’re a complete beginner, I recommend starting with something simple and accessible. That might be GarageBand if you're on a Mac, or one of the free DAWs we mentioned earlier like Cakewalk, Pro Tools Intro, or Soundtrap.
Best free DAWs for beginners
There are more free DAWs available now than ever — and some of them are genuinely powerful enough to produce full songs from start to finish.
Mac only:
GarageBand: User-friendly with built-in instruments and effects, perfect for entry-level production.
Windows only:
Cakewalk by BandLab: Professional-grade DAW with advanced audio editing, MIDI support, and virtual instruments.
Cross-Platform:
Pro Tools Intro: A free version of the industry-standard DAW with essential recording and editing tools.
Other free options:
Tracktion T7: Unlimited audio/MIDI tracks and built-in effects.
LMMS: Open-source DAW for Windows, Mac, and Linux.
Audacity: Simple cross-platform audio editor and recorder.
Free video tutorial: Opening your DAW for the first time
Whichever DAW you choose, the basic layout and tools are usually pretty similar — so once you learn the ropes, it gets much easier.
To help you get started, check out Grammy-winning engineer Chris Kasych as he walks through the first steps in a DAW — from setting up your project to understanding the workspace.
If you want to learn more about how to record your first song at home, Chris Kaysch has worked with some of the biggest names in the industry (Adele / Olivia Rodrigo). Try out his Recording for Beginners course for free with your 7-day FREE trial.
Headphones vs studio monitors
If you’re a music lover, chances are you already have a pair of headphones or a decent speaker setup at home. And honestly, that’s a perfectly fine place to start.
But if you want a more accurate sense of how your mix really sounds, upgrading your monitoring setup can make a big difference.
Headphones are great for picking out details — especially when you’re working in a small or untreated room.
Studio monitors, on the other hand, give you a more balanced picture of your overall mix.
Recommended headphones and studio monitors
Headphones:
Audio-Technica ATH-M50x: Excellent sound quality and comfort.
Studio Monitors:
KRK Rokit 5: Budget-friendly and popular among beginners.
👉 If you’re on a tight budget, stick with headphones at first. You can always add monitors later.
Exploring basic audio elements in your DAW
With a computer, a DAW and some headphones (or speakers), you have the absolute basics you need for music production. The trickiest part can be getting to grips with the software, so just spend some time exploring it. You’ll find loads of tutorials online to guide you — just jump in and start experimenting. The more you play around, the quicker you'll pick it up.
Download free audio for DAW practice
For me, the best way to start was to set up a project and download some audio tracks to get a feel for how things work.
In our Recording for Beginners course, Chris provides audio files and projects you can freely use.
Cambridge Music Technology has an online download library of more than 50 unprocessed multitrack projects, all of which are free to use for educational purposes.
Key audio controls in music production
Now, you've got some audio files loaded into your DAW, it's time to start experimenting with the core elements of audio production. Here’s a guide to the main audio controls you should explore as a beginner.
Control | Explanation |
|---|---|
Volume and Gain | Controls how loud your tracks are. Balance volumes and use gain to boost levels without distortion. |
Panning | Places sound in the left or right speaker, creating space and making your mix more dynamic. |
Equalization (EQ) | Adjusts bass, midrange, and treble. Use it to enhance or reduce certain frequencies for clarity. |
Compression | Evens out loud and quiet parts, making your music sound polished by controlling volume differences. |
Reverb | Adds an echo effect, simulating spaces like rooms or halls, giving depth to your music. |
Delay | Creates repeating echoes, adding rhythmic effects or a sense of space to your tracks. |
Automation | Changes settings like volume or panning over time automatically, adding movement to your mix. |
Pitch and Time Stretching | Lets you change pitch or length of a sound independently, useful for matching vocals or creating effects. |
Cutting and Splicing | Edit your track by removing or rearranging parts of the audio, like cutting and pasting pieces. |
Looping | Repeats a section of audio, useful for building rhythms or repetitive elements in your track. |
💡ARTMASTER TIP: Ever wondered what a music producer does? Music production is the artistry that transforms ideas into polished tracks. Check out our guide — How to become a music producer.
Getting started with MIDI
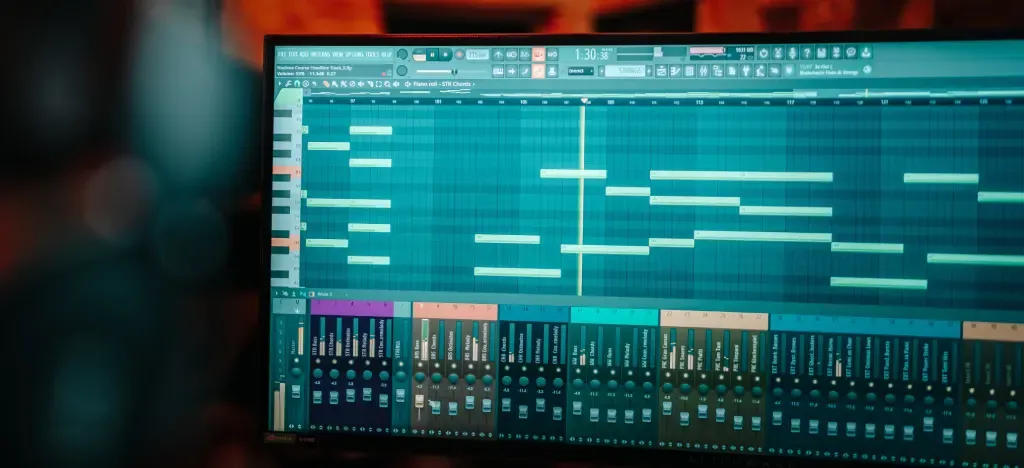 Even if you are main interested in working with audio files, it will really add versatility to your productions if you can understand and use MIDI. Fortunately, you can experiment with MIDI without using a MIDI controller (a music keyboard you plug into your computer).
What is MIDI?
MIDI (Musical Instrument Digital Interface) is a way for your computer to talk to virtual instruments—software versions of instruments like pianos, synthesizers, and drum kits. It sends information such as which notes to play, how long to hold them, and how loud or soft they should be, allowing you to create and control sounds within your DAW.
Why MIDI matters
Versatile control: Control virtual instruments and effects directly within your DAW.
Easy editing: Modify notes, timing, and dynamics without re-recording.
Broad use: MIDI is useful for all music genres, from electronic to orchestral.
Using MIDI in your DAW without a controller
As I said, if you don’t have a physical MIDI controller, you can still create and manipulate MIDI in your DAW using various tools. Here are a few methods to get started:
1. Piano roll editor
Click and draw notes: In most DAWs, you can open the "Piano Roll" or "MIDI Editor" and simply click on the grid to draw in notes with your mouse. You can click, drag to adjust the length of the note, and move it up or down to change the pitch.
2. Computer keyboard as a piano
Musical typing: Many DAWs have a feature that lets you use your computer keyboard as a piano. For example, in some DAWs, the keys on your keyboard (like QWERTY) correspond to different notes, so you can play and record melodies just by pressing keys.
3. Using pre-made MIDI clips
Drag and drop MIDI files: Some DAWs come with built-in MIDI loops or clips (like drum beats or melodies). You can drag these onto a track, and then open the piano roll to edit them if you want to change something.
4. Step recording
Step input: This method allows you to enter notes one at a time. You select a note length (like quarter notes), then press a key on your computer keyboard to place that note in the timeline. It’s like building your melody step by step.
What are virtual instruments and VST plugins?
Virtual instruments are software instruments that generate sound using MIDI — and they often come in a format called VST plugins.
🎹 VST (Virtual Studio Technology) plugins are add-ons that run inside your DAW. They include:
Virtual instruments (e.g. pianos, strings, synths)
Effects processors (e.g. reverb, EQ, delay)
Your DAW likely comes with some free VST instruments and effects, but you can download many more online. Some popular free VSTs to try include:
Spitfire LABS – Lush cinematic instruments
Dexed – A classic FM synth emulator
Valhalla Supermassive – Reverb and spacey delay effects
To use one, just load it onto a track in your DAW, and then use MIDI (via mouse, keyboard, or controller) to play it.
💡ARTMASTER TIP: To find out more check out our Ultimate guide to VST plugins in 2025 (Paid & Free). Or if you want to learn more about MIDI and how to use it effectively, try out Alex Moukala's course for beginners on composing, arranging, and mixing professional-sounding orchestral tracks.
Choosing the right audio production gear
Depending on what type of music you are into, there are generally 2 main ways to head when considering your next (or first) purchase.
1. Essential tools for recording real instruments
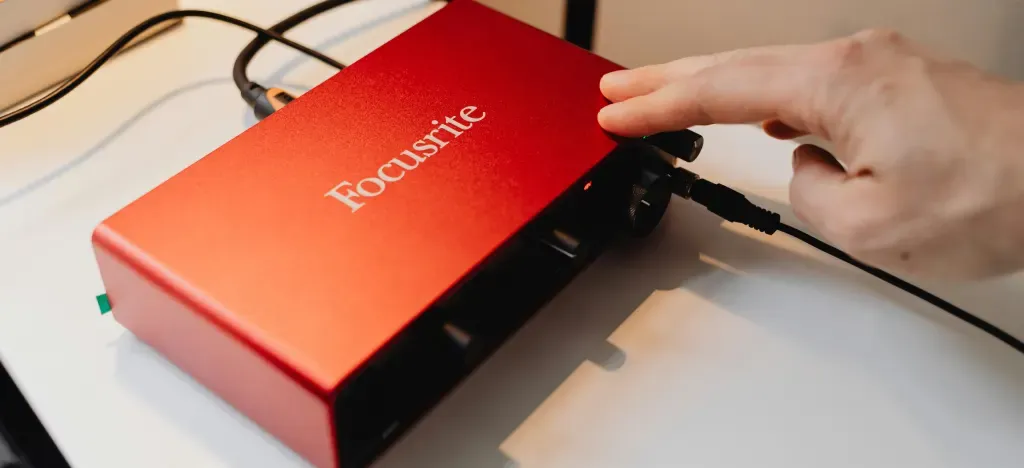 If you want to capture the sound of a real instrument, you'll need an audio interface and a microphone (plus some cables)
Audio Interface
What it is: An audio interface connects your instruments and microphones to your computer, converting analogue signals to digital for high-quality recording.
How do you connect it: Audio interfaces connect to your PC via Thunderbolt, USB-C, USB 2.0, FireWire, or PCIe. Once connected, you can then plug in your electric instrument or microphone.
Why you need it: If you’re recording live instruments (acoustic or electric) or vocals, an audio interface gives you clear, professional-grade recordings with minimal latency.
Recommended models: Focusrite Scarlett 2i2, PreSonus AudioBox USB, or Universal Audio Apollo Twin.
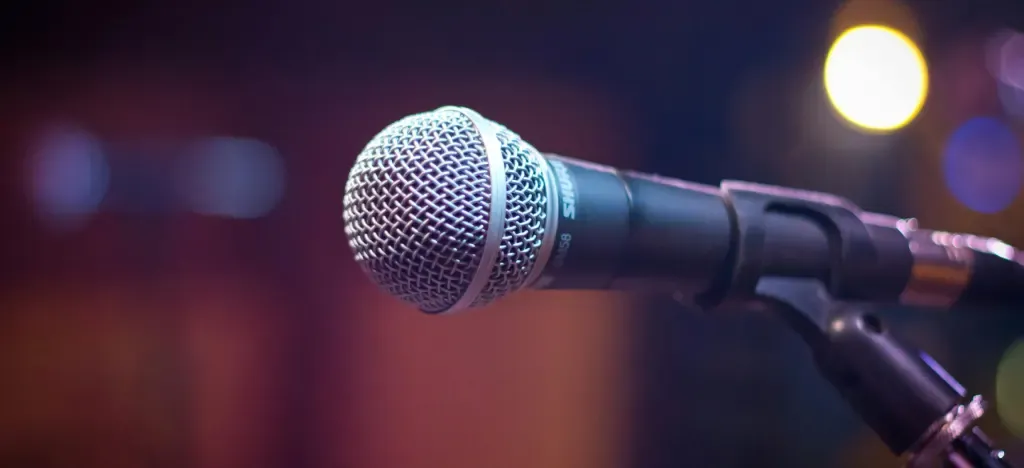 Microphone
What it is: A microphone captures sound from your voice or instrument and sends it to your audio interface.
Why you need it: A quality microphone is necessary for recording vocals and acoustic instruments.
Recommended models: Shure SM58 (dynamic mic), Audio-Technica AT2020 (condenser mic), or Rode NT1-A (condenser mic).
Additional considerations:
For recording vocals, a condenser microphone is usually preferred for its sensitivity and clarity.
Dynamic microphones are more durable and are often used for recording louder sound sources like drums or amplified instruments.
2. For producing electronic music
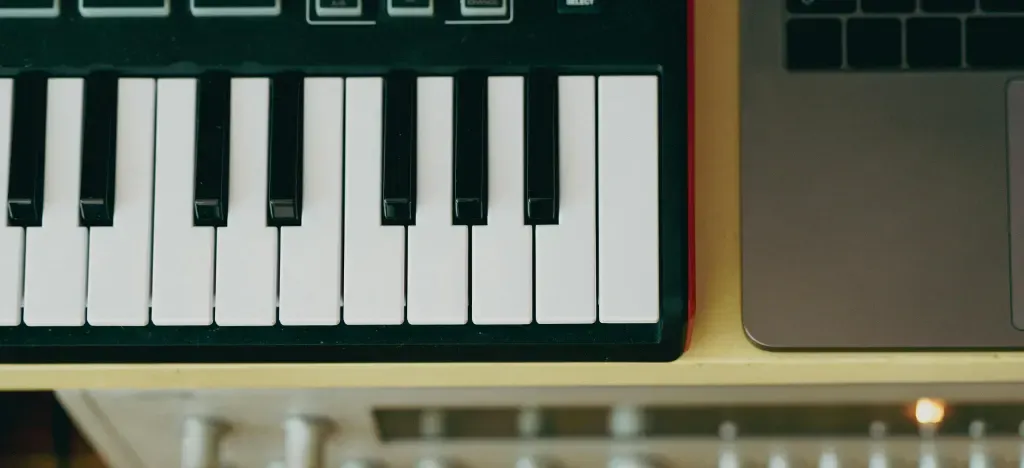 MIDI Keyboard
What it is: A MIDI keyboard is a device that allows you to control virtual instruments and synthesizers within your DAW. It sends MIDI signals, which can trigger sounds from your software instruments.
How you connect it: A MIDI controller typically connects to your PC using a USB cable.
Why you need it: If your focus is on electronic music, a MIDI keyboard is a versatile tool for composing melodies, creating beats, and controlling various elements within your DAW. It can speed up your workflow and add a tactile element to your production process.
Recommended models: Akai MPK Mini, Novation Launchkey, or Arturia KeyLab.
Additional considerations: Look for a MIDI keyboard with pads, knobs, and faders if you want more control over your software instruments and effects.
Combining both worlds
Hybrid approach: Audio Interface + MIDI Keyboard
Many producers create music that blends real instruments with electronic elements. This setup allows you to record live instruments while also programming and controlling electronic sounds and effects within your DAW.
💡ARTMASTER TIP: Curious how AI is changing the way we learn and create music? Explore the tools and trends that are reshaping everything in our article The AI Music Revolution.
Experimenting with your sound on a budget
 As you get more comfortable using your DAW, try experimenting — this is a fundamental (and fun) part of music production, and numerous famous producers have created groundbreaking tracks using simple, inexpensive gear:
The Beatles: While recording Sgt. Pepper’s Lonely Hearts Club Band, The Beatles used tape loops, found sounds, and basic recording equipment to create innovative effects that were ahead of their time.
Aphex Twin: Richard D. James, known as Aphex Twin, famously used cheap Casio keyboards and basic home recording setups to produce some of his most influential tracks, proving that creativity trumps expensive equipment.
Billie Eilish and Finneas: Billie Eilish’s debut album When We All Fall Asleep, Where Do We Go? was mostly recorded in a bedroom studio with minimal gear. Finneas, her producer and brother, often used simple tools and inexpensive software to craft the album’s unique sound.
Ideas for experimenting with budget gear:
DIY recording techniques: Use your smartphone or a basic USB microphone to capture interesting sounds around you. Even a cheap microphone can add character to your recordings when used creatively.
Lo-fi effects: Embrace the imperfections of low-budget gear. For example, record vocals through a cheap microphone to create a gritty, lo-fi sound, or use free plugins to add tape saturation or vinyl crackle to your tracks.
Re-purpose everyday objects: Turn household items into instruments. Tap on glasses, bang on pots, or use a rubber band as a makeshift guitar string. Sample these sounds in your DAW and manipulate them to create unique beats and textures.
Explore free and low-cost software: There are many free virtual instruments, and effects plugins available online. Experiment with different combinations to see what you can create without spending much money.
Learn recording and music production for free
Now we have covered the basics, if you want to learn to record your first song at home, Chris Kasych’s "Recording for Beginners" course is excellent. Plus, it offers a unique opportunity to gain insights from someone who has worked with industry giants like Adele and Olivia Rodrigo.
Get full access to this and all our courses with your 7-day FREE Trial.
FAQ: Music production at home (2025)
Q: Can I make music with just a laptop?
A: Yes, totally. If you’ve got a computer and headphones, you can start today using free software.
Q: What’s the easiest DAW for beginners?
A: GarageBand if you’re on a Mac, Cakewalk for Windows, or Soundtrap if you want something browser-based.
Q: Do I need an audio interface to get started?
A: Not unless you’re recording vocals or instruments. For beats and virtual instruments, you don’t need one.
Q: Mac or PC — which is better for music?
A: Both are great. Macs are smoother out of the box, but PCs give you more control and better value.
Q: Can I use my computer keyboard like a piano?
A: Yep. Most DAWs let you play notes using your normal keyboard — no gear needed.
Q: What’s the cheapest way to record vocals?
A: A USB mic like the Blue Snowball, or a cheap dynamic mic with a basic audio interface.
Q: What laptop specs should I look for?
A: At least 8GB of RAM, an SSD, and an i5 or Ryzen 5 processor. You don’t need anything crazy.
Q: Are there free plugins that sound good?
A: Absolutely. Try Spitfire LABS, Dexed, or Valhalla Supermassive — all free and sound great.
Q: Do I need to know music theory?
A: Nope. Just start messing around — you’ll pick things up as you go.
About the author
Matt Ford is a musician, teacher, writer, and lifelong student of sound.
With years of experience in both performing and teaching, he shares practical advice through ArtMaster to help musicians at every level build skill and confidence in their playing.
